Configuring the Droplet

Hello 👋,
Welcome to the second article in the "Deploying PHP Application on Digital Ocean" series. In this article, we will connect to the droplet via SSH and configure the droplet.
Connecting via SSH
Let's log in to the droplet. Firstly, you need to grab the IP address of the droplet. In the resources tab of your project, you can see the IP address of the droplet. In the given an example my droplet has an IP 64.227.138.91 I will be using this address to connect to the droplet.

To connect you need to open the terminal/cmd depending on your operating system. Fire up your terminal and type the below command.ssh root@[your.ip]
You will be asked to enter the root password we created when creating the droplet. After entering the password you are successfully connected to the droplet.
Installing applications
As we now have access to the droplet. We can start installing the required applications. We will need to install an Apache web server, PHP, and MySQL Server. Let's get started with Apache Web Server.
Installing Apache
We will require, a web server to serve the web pages. We will be using the Apache web server in this example. Use the following command to install apache2.
sudo apt-get install apache2
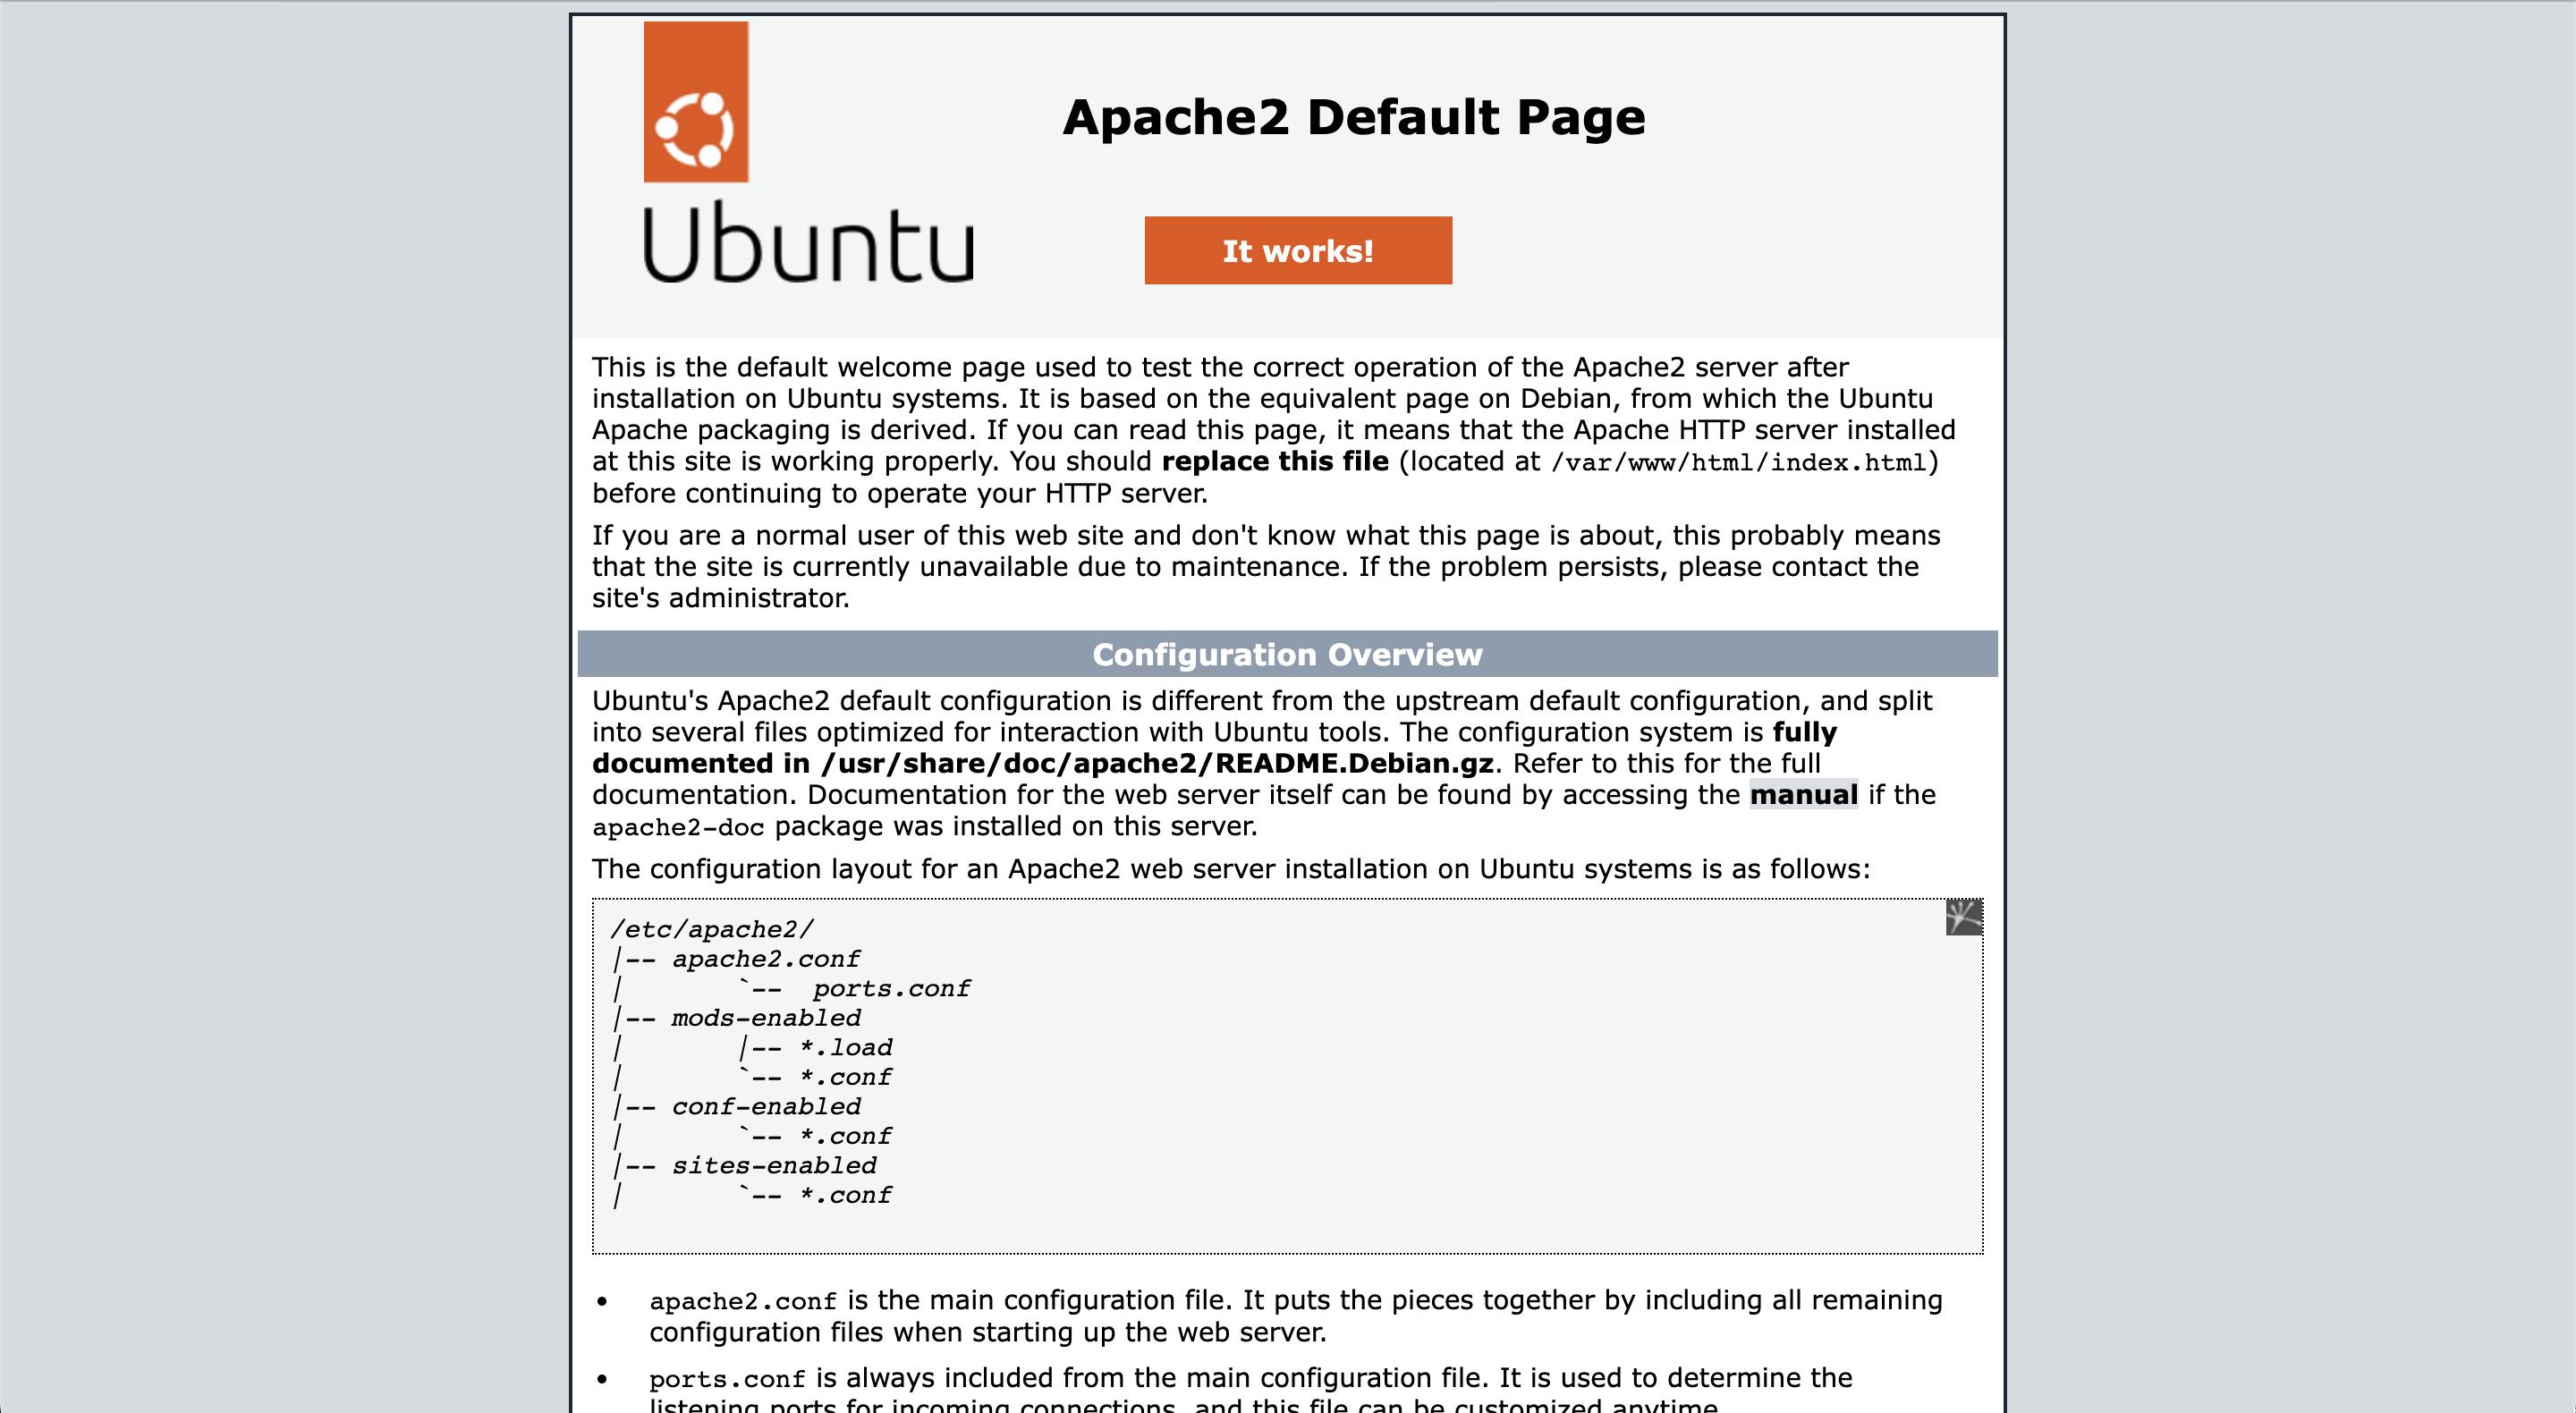
You will be asked for confirmation to install. Just Type 'Y' and press the return key. Apache server will be installed. Once installation is finished apache will start automatically. You can type in your droplet's IP Address in your browser's address bar and you will see the following page.

If you see above it means, you have successfully installed Apache2. I have mentioned a few commands to view the status, start, stop & restart the Apache server. You may need those in the future 😉.
sudo systemctl status apache2
sudo systemctl stop apache2
sudo systemctl start apache2
sudo systemctl restart apache2
All the above commands are self-explanatory.
Okay. So now we can serve the static files using apache. But we want to run PHP code. So we need to install PHP and configure apache to execute our PHP. In the next step, we will install PHP.
Installing PHP
Now to install the PHP we need to install more than a single package to have a good setup with commonly used PHP extensions. Use the below command to install PHP.
sudo apt install php8.1-fpm php8.1 libapache2-mod-php8.1 php8.1-common php8.1-mysql php8.1-xml php8.1-xmlrpc php8.1-curl php8.1-gd php8.1-imagick php8.1-cli php8.1-imap php8.1-mbstring php8.1-opcache php8.1-soap php8.1-zip php8.1-intl php8.1-bcmath unzip -y
Wait for the installation to complete.
Once the installation is complete verify the installation using the following command.
sudo systemctl status php8.1-fpm
Now we need to enable the Apache event module. First, we need to disable perform modules. 1) php8.1 2) mpm_prefork. The following command will disable those modules.
sudo a2dismod php8.1
sudo a2dismod mpm_prefork
Now we can enable the event module. Use the below command to enable the event module.
sudo a2enmod mpm_event proxy_fcgi setenvif
Once the event module is enabled we can enable PHP-FPM configuration with the given command.
sudo a2enconf php8.1-fpm
If you want to have HTTP/2 support you can enable it also.
sudo a2enmod http2
Once the above configuration is done, we need to restart the apache server to make changes effective. Use the below command to restart apache.
sudo systemctl restart apache2
To ensure PHP is working correctly, just create a file named info.php in the /var/www/html/ directory. Put the following code in it & save by pressing CTRL + O followed by Y and return key.
sudo nano /var/www/html/info.php
<?php
    phpinfo();
?>
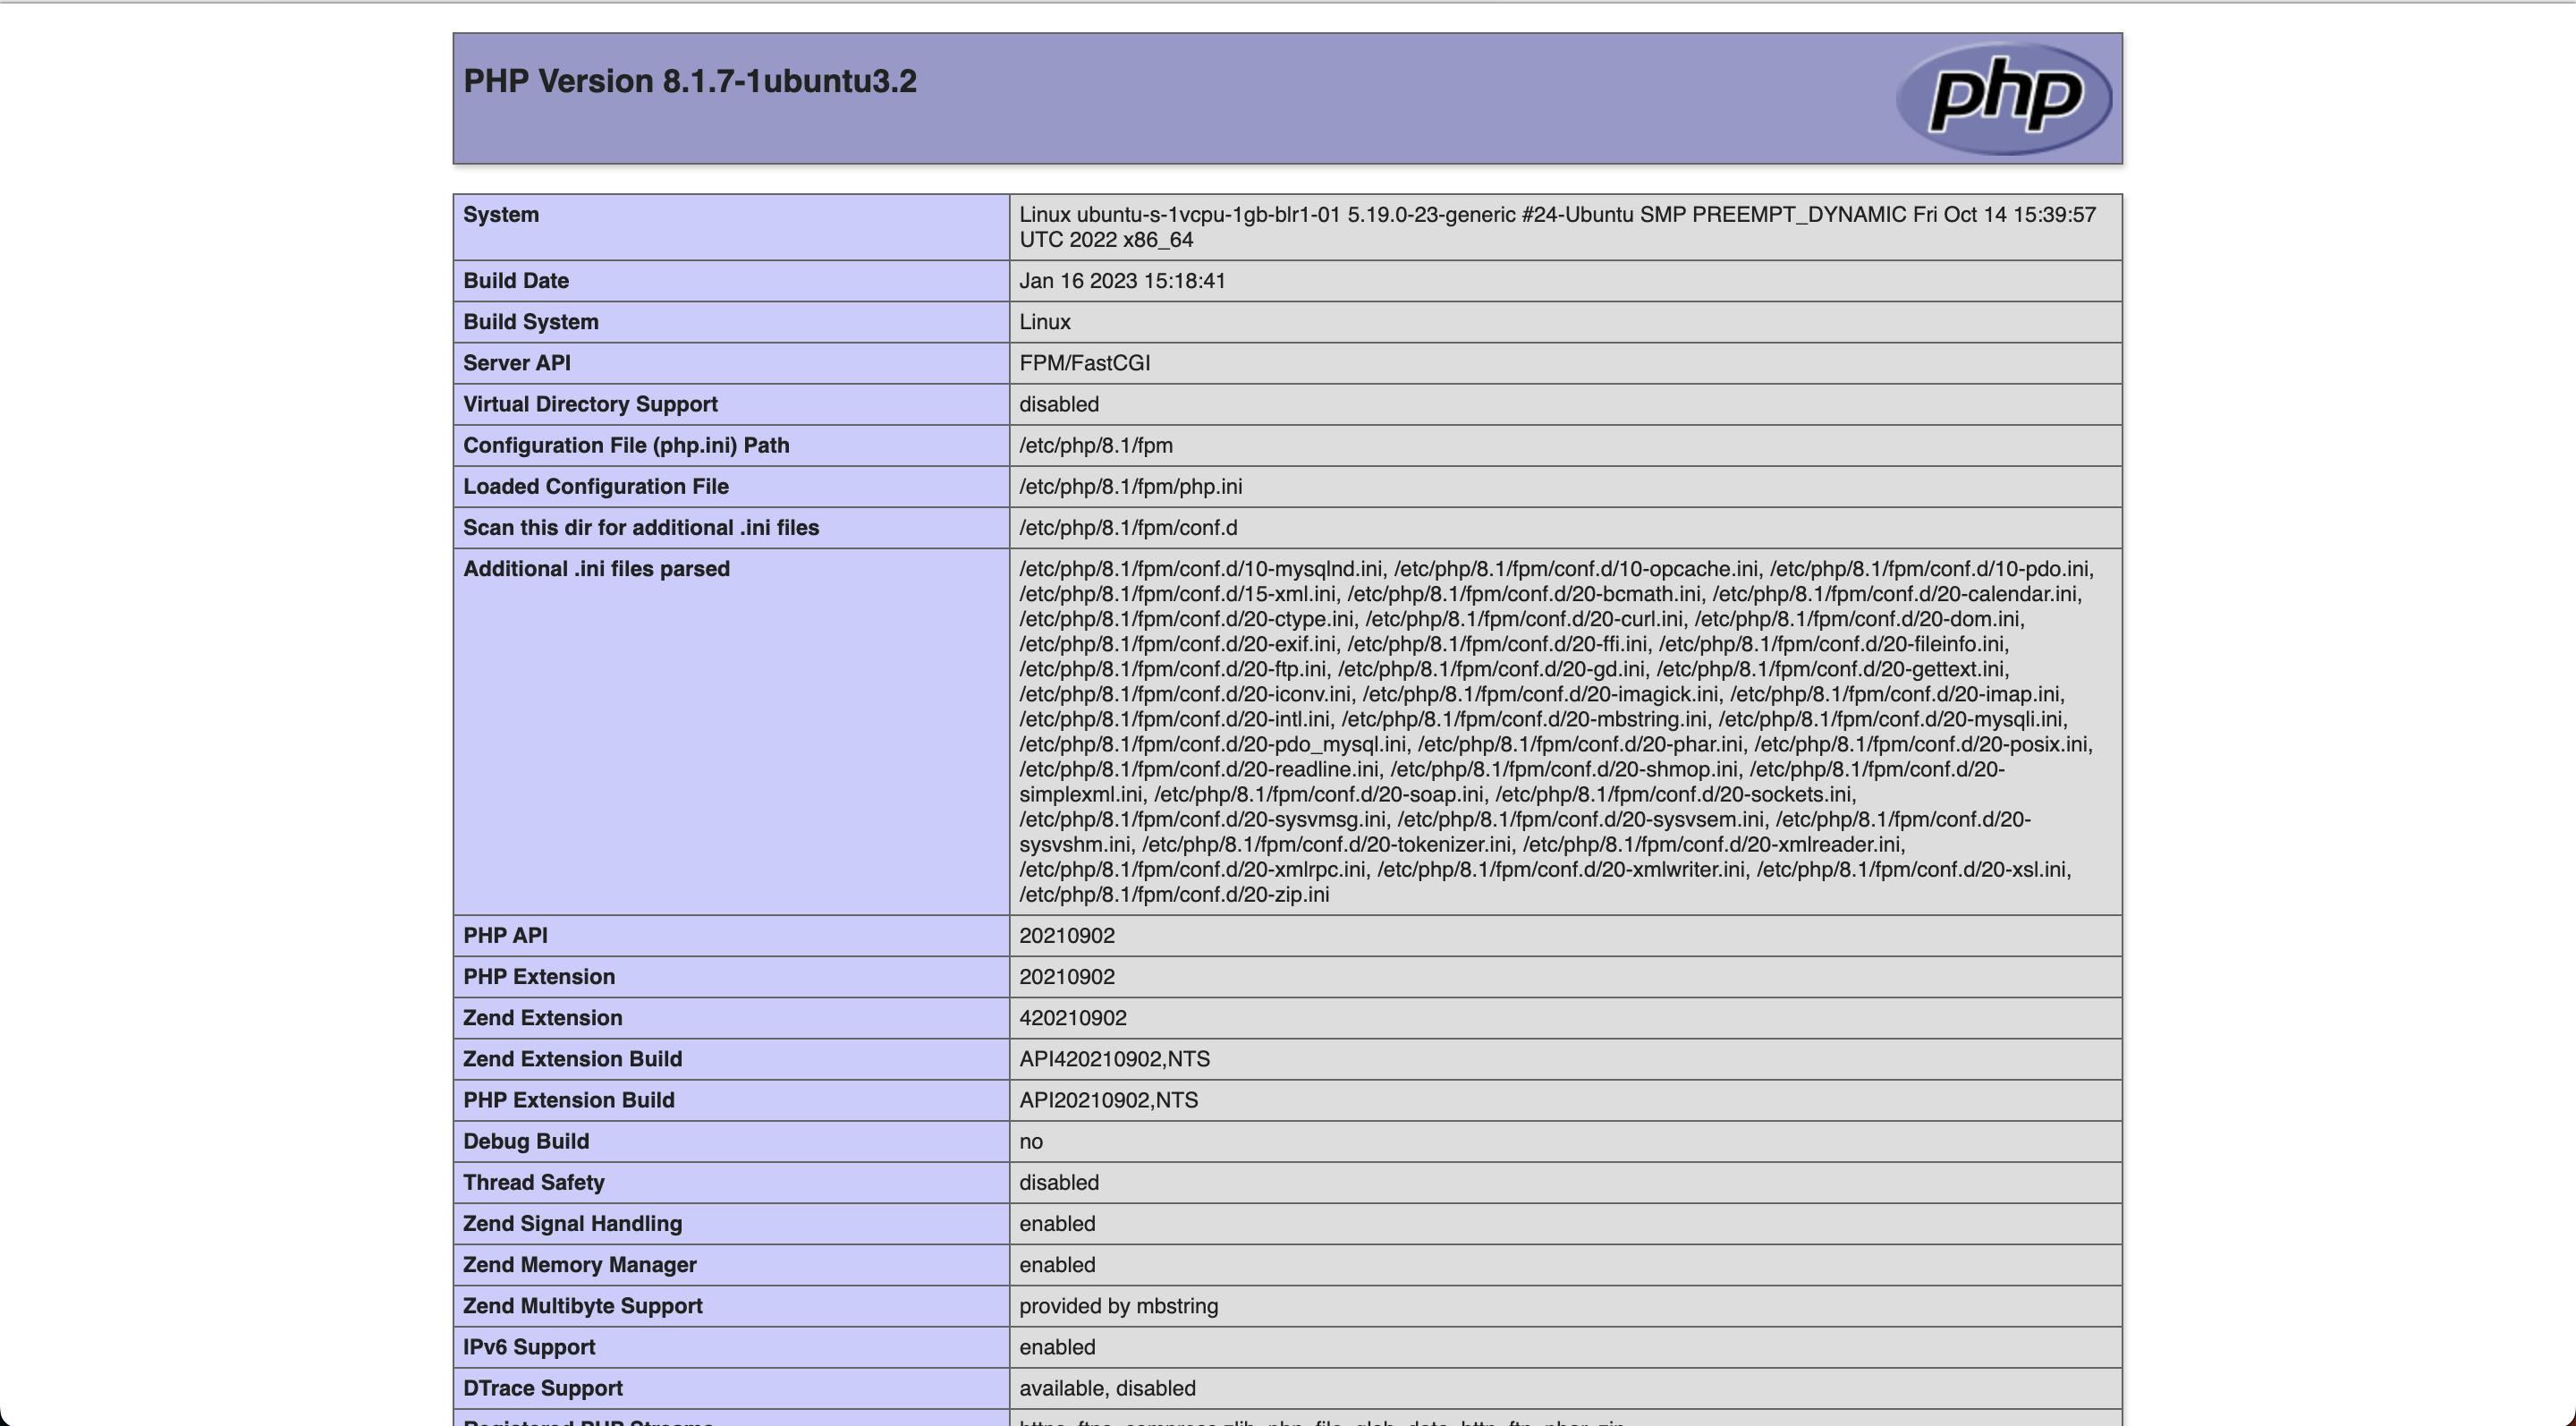
Then you can visit the following URL to confirm PHP is working fine.http://[your-ip-address]/info.php
For eg. http://64.227.138.91/info.php
This will display PHP information.

Congratulations! 🎉 Now we have installed apache 2 with PHP. In the next article, we will install the MySQL server and connect a domain to our droplet. See you there 👋.
Thanks for Reading. ❤️
Do share your feedback in the comments and react to the article.
